
2.5.2. CMS Richie Administrator#
2.5.2.1. What is Richie?#
Richie is a content management system (CMS) designed for online education and e-learning purposes. Richie CMS is built using the Django web framework, which is a popular Python web framework.
Richie CMS is known for its features that make it suitable for educational websites and platforms. Some of its key features include:
Course Management: Richie provides tools for creating, organizing, and managing courses, including course cataloging, scheduling, and enrollment management.
User Management: Richie CMS includes user management features, making it possible to create and manage user profiles, roles, and permissions, crucial for handling students, teachers, and administrators.
Multilingual Support: It includes multilingual support to cater to a diverse audience.
Customization: Richie can be customized and extended to suit the specific needs of educational institutions or online learning platforms.
Integration: It offers integration capabilities with other educational tools and systems, such as Learning Management Systems (LMS).
2.5.2.2. The Role of the Richie CMS Administrator#
The CMS RICHIE Administrator plays a pivotal role in maintaining the functionality, security, and usability of the CMS. They collaborate with content creators, web developers, and other stakeholders to ensure that the CMS serves its intended purpose effectively. Here are some common tasks and roles associated with this role :
User Management:
Create and manage user accounts with appropriate permissions
Create and maintain the different user groups or roles.
Provide training and support to users, including content editors and publishers.
Content Management:
Oversee content creation, editing, and publishing.
Monitor the quality and consistency of content.
Ensure that content follows branding and style guidelines.
Implement content workflow and approval processes if necessary.
Note
Most of the content must be created manually and some other can be synchronized from the Open edX platform.
Troubleshooting and Support:
Identify and resolve issues and abnormal circumstances in the CMS.
Provide technical support to users and address their queries and concerns.
Content Archiving and Cleanup:
Manage the archiving and deletion of outdated or unnecessary content.
Ensure that content remains organized and accessible.
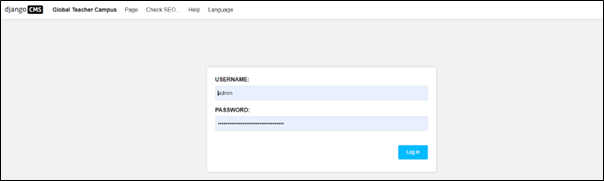
2.5.2.3. Accessing the Administrator Console in Richie CMS#
To login, go to https://<CMSDOMAIN>/admin with your user credentials:
2.5.2.4. Managing the Site Sections and Objects with Richie CMS#
As the administrator of the CMS, you can create, modify, or remove different sections of the website and most of the objects that populate the application. This section describes each of those components and the way to manage them.
2.5.2.4.1. Home Page#
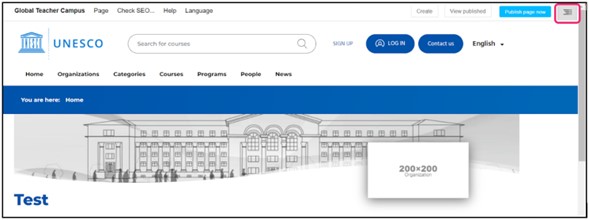
The Home page is created by default. Go to the edit bottom to start adding the page content.
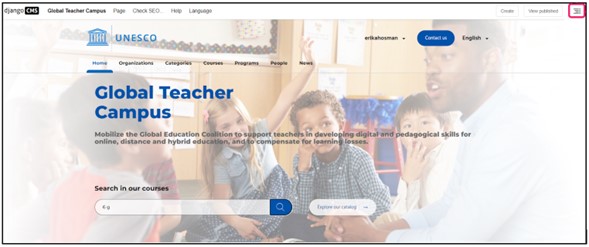
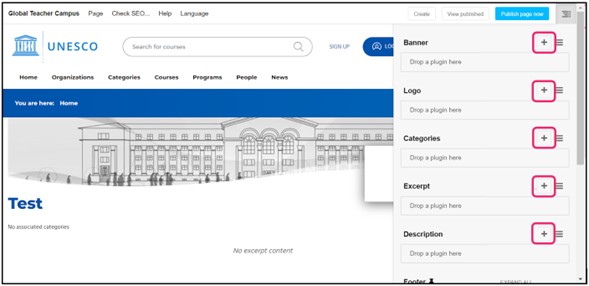
Here you can add content to the page like the large banner, a brief description, and the logo. Also, you can add sections with more content or additional banners.
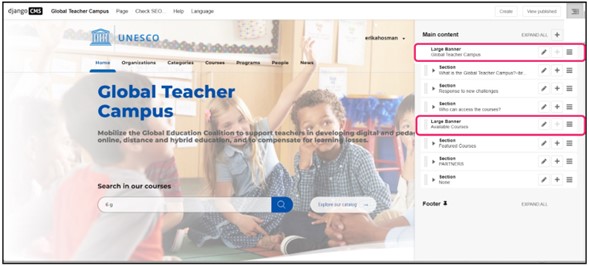
To create a new banner or a new section, go to EXPAND ALL and from there you can find the two options.
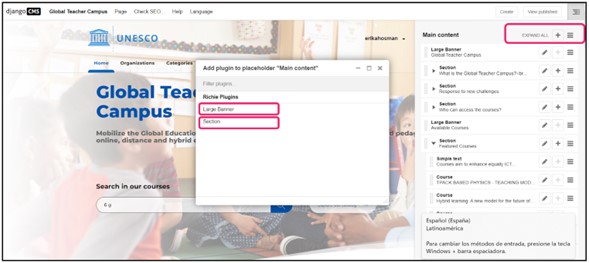
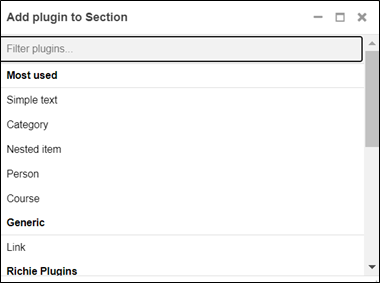
In Add plugin to Section, the system allows plenty of options like create a simple text, assign a category, person, courses, links and more.
2.5.2.4.2. Organization#
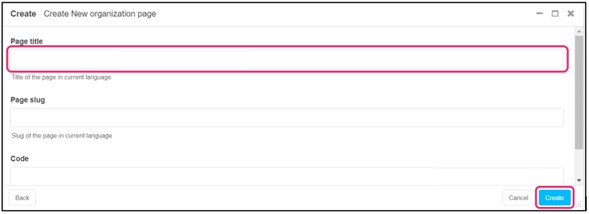
Go to the Create button to create a new organization page.

Select the blue box New Organization, and then clink on Next.

Create the organization title. The page slug will appear automatically, then go to the button Create.
Once the page is created, go to the menu tab to start populating your page.
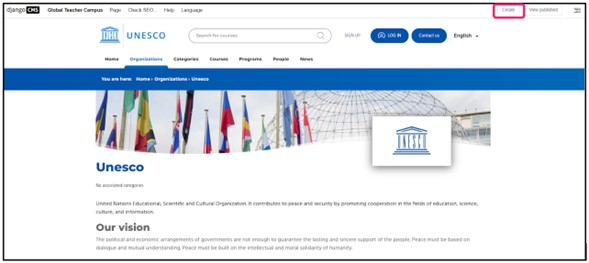
Here you can add a banner, logo, select a category, a brief description called “excerpt” and then a longer description in plain text.
A finish organization page looks like this:
2.5.2.4.3. Categories#
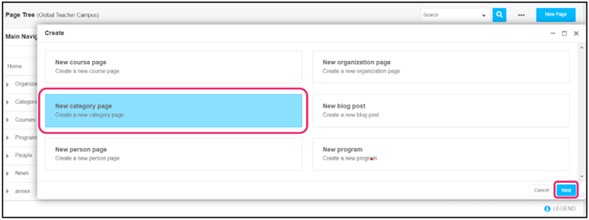
Go to the Create button to create a new category page.
Select the blue box New category page, and then clink on Next.
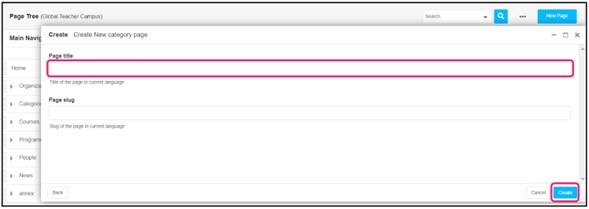
Create the category title. The page slug will appear automatically, then go to the button Create.
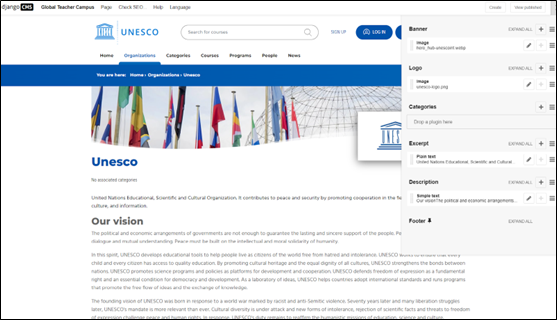
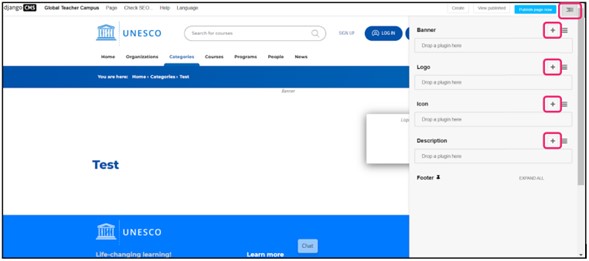
Here you can add a banner, logo, and a description.
A finish category page looks like this:

2.5.2.4.4. Courses#
To create a new course page, you must create an organization first, and then, from the organization page you will be able to create the course.
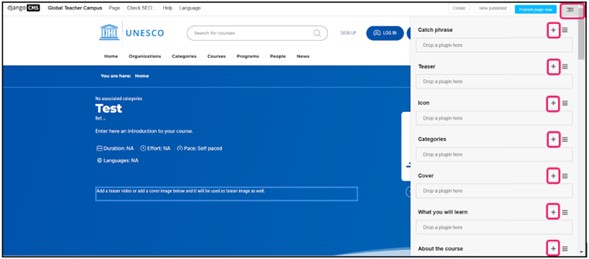
Select the blue box New course page and then click on Next.

Here you can populate your course with the option marked with the red arrow: catch phrase, teaser, icon, add a category, a cover image and more information related to the course.
Important
To configure the date and time for the course you must double click on course runs to add the information.
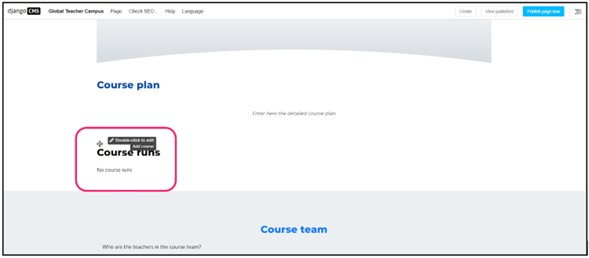
The information you add on course runs will appear here:
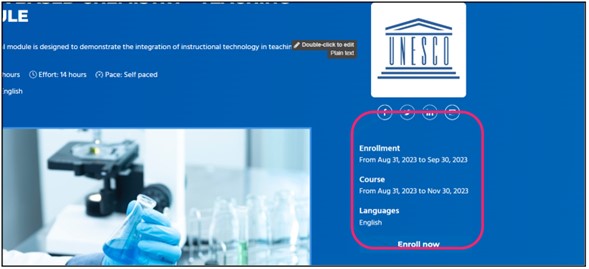
A finished course looks like this:
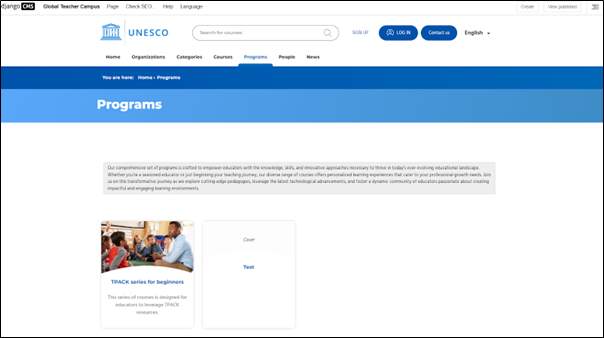
2.5.2.4.5. Programs#
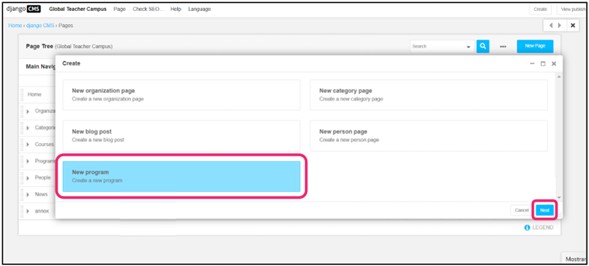
Go to the Create button to create a new program page.

Select the blue box New program and then click on Next.
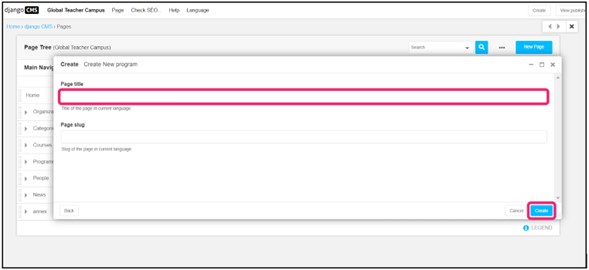
Create the program title. The page slug will appear automatically, then go to the button Create.
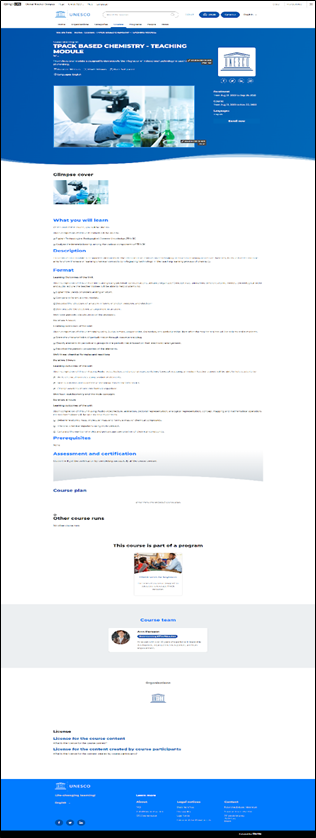
Here you can populate your program page with the option marked with the red arrow: cover, excerpt, body, and courses related to the program.

A finished course looks like this:
2.5.2.4.6. People#
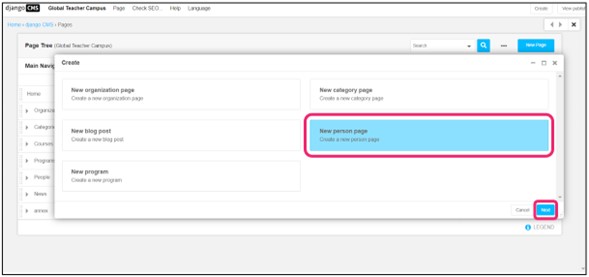
Go to the Create button to create a new person page.
Select the blue box New person page and then click on Next.
Create the person’s full name. The page slug will appear automatically, then go to the button Create.

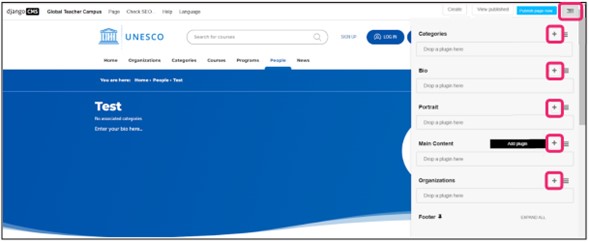
Here you can populate your person page with the option marked with the red arrow: categories, bio of the person, portrait, mail content and link the person with a category of knowledge previously created.
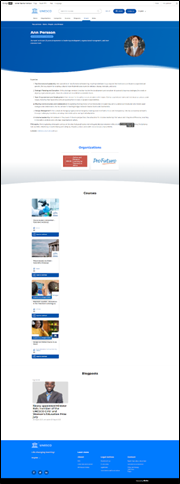
A finished person page looks like this: the person photo, bio, organization he/she/they belongs to, courses she/he/they is part of, and a blog written by the person.
2.5.2.4.7. News#
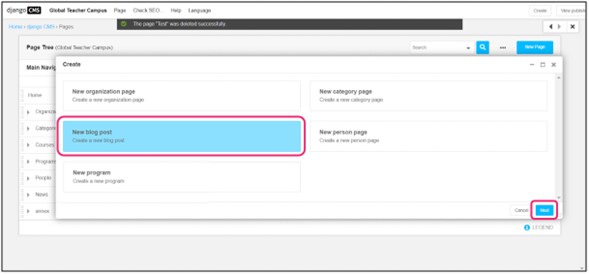
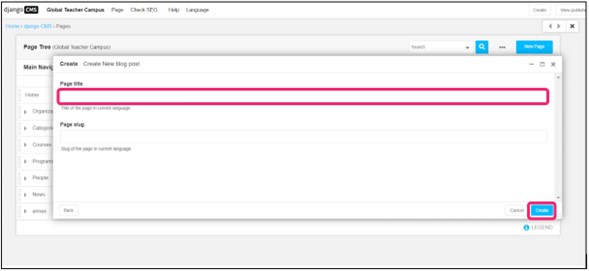
Go to the Create button to create a New blog post page.
Select the blue box New blog post and then click on Next.
Create the page title. The page slug will appear automatically, then go to the button Create.
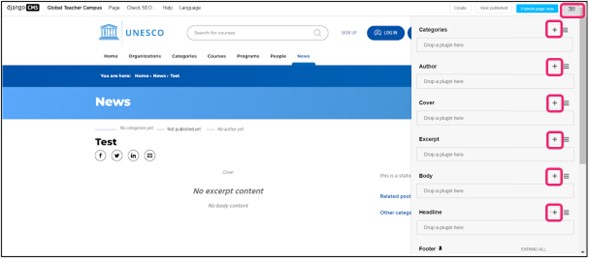
Here you can populate your blog post page with the option marked with the red arrow: categories, author, cover picture, excerpt, body, and headline.
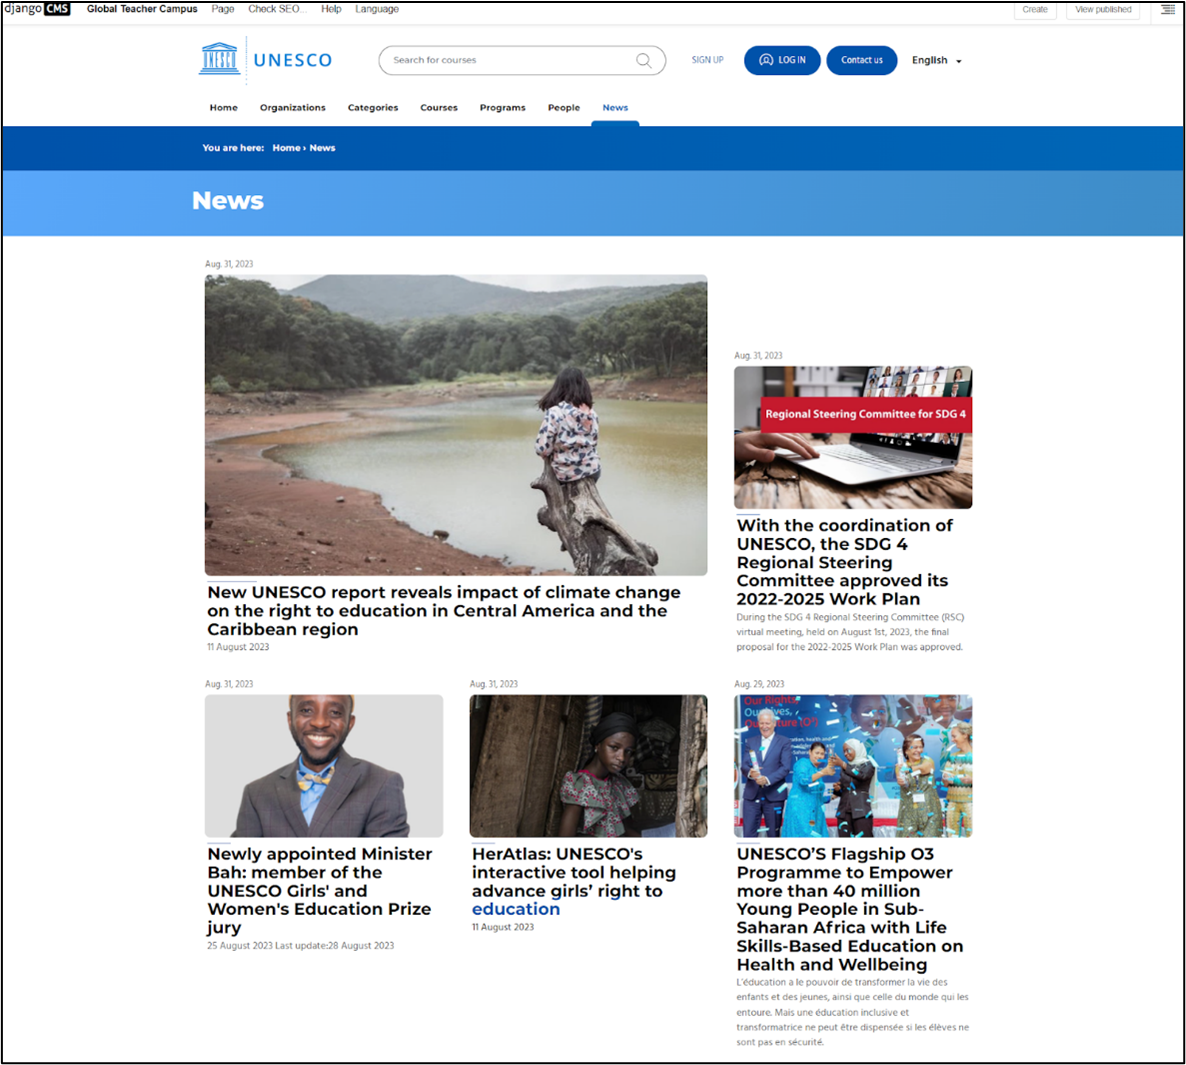
A finished blog post page looks like this:
2.5.2.5. Additional Information#
If you want to learn more about Django administration console, please refer to the documentation Django administration console.
If you want to learn more about Django User Guide, please refer to the documentation Django User Guide.